
I
made a fall wreath for my bedroom door last year using solely supplies
from Joann's after I noticed that pre-made ones were actually pretty
expensive (unless they're on sale!). I also realized that they can be
overwhelming and occasionally tacky so it was nice to personalize it to
what I liked. I also made my sister a wreath for her house last year so
by the time autumn rolled around this year, I knew what worked best for
me and what supplies I needed. Amelia and I decided that we should make
some again this year since you can't have too many wreaths and since she
didn't get the opportunity last year.

| Supplies|
- wire bobbles (Joann's full price: $2.99)
- fake leaves ($1.99)
- autumnal ribbon (Michael's: $2.99-$4.99)
- wreath forms ($4.99 for 18")
- scissors
- hot glue + glue gun
- optional: mini pumpkins/gourds (Michael's: $4.99)
| How-To|
The
first thing I like to do is sort the leaves into a few piles so I can
easily grab for the ones I want. For reference, we used about two bags
of leaves total on both of our wreaths.
Next
I pick where I want my bow to go. If the wreath is a little oblong I'll
pick where it looks most symmetrical and keep track of where that is.
To
start gluing leaves, I lay a few at a time down and alternate the
colors and shapes so it looks unintentional but so there aren't any of
the same color touching all over. Once I know where to put a leaf I glue
a stripe of glue down the center of the leaf and press it into the
wreath without flattening it. Be careful doing this, though, I usually
burn my finger tips a few times unintentionally.

I
like to start the pattern by gluing leaves all around the wreath first
then filling in the biggest gaps and leaving some small spaces where the
wreath form can be seen so it doesn't look too busy.
After
I like how my leaves look, I like to tie my bow where I previously
picked. I like really big bows on my wreaths but this time I ran a
little short for that so makes sure you have enough ribbon for the size
of bow you want.

Next
I use these little bobble things I found at Joann's that are on
brown-coated wire. I cut a strip about eight inches long and glue the
ends on the inside or back of the wreath using lots of hot glue. Here I
alternated using red, orange/red, and white bobbles to balance out the
color pallet of my wreath.
Once I
glued down the bobbles I picked out three pumpkins to put on my wreath
and where to place them. These take a lot of glue to hold them down
well. What we ended up doing is building up some glue where we want and
letting it cool then squeezing more on top of the same spot and pressing
the pumpkin into it for several minutes.


That's where I called it a day! I really love the way ours turned out.
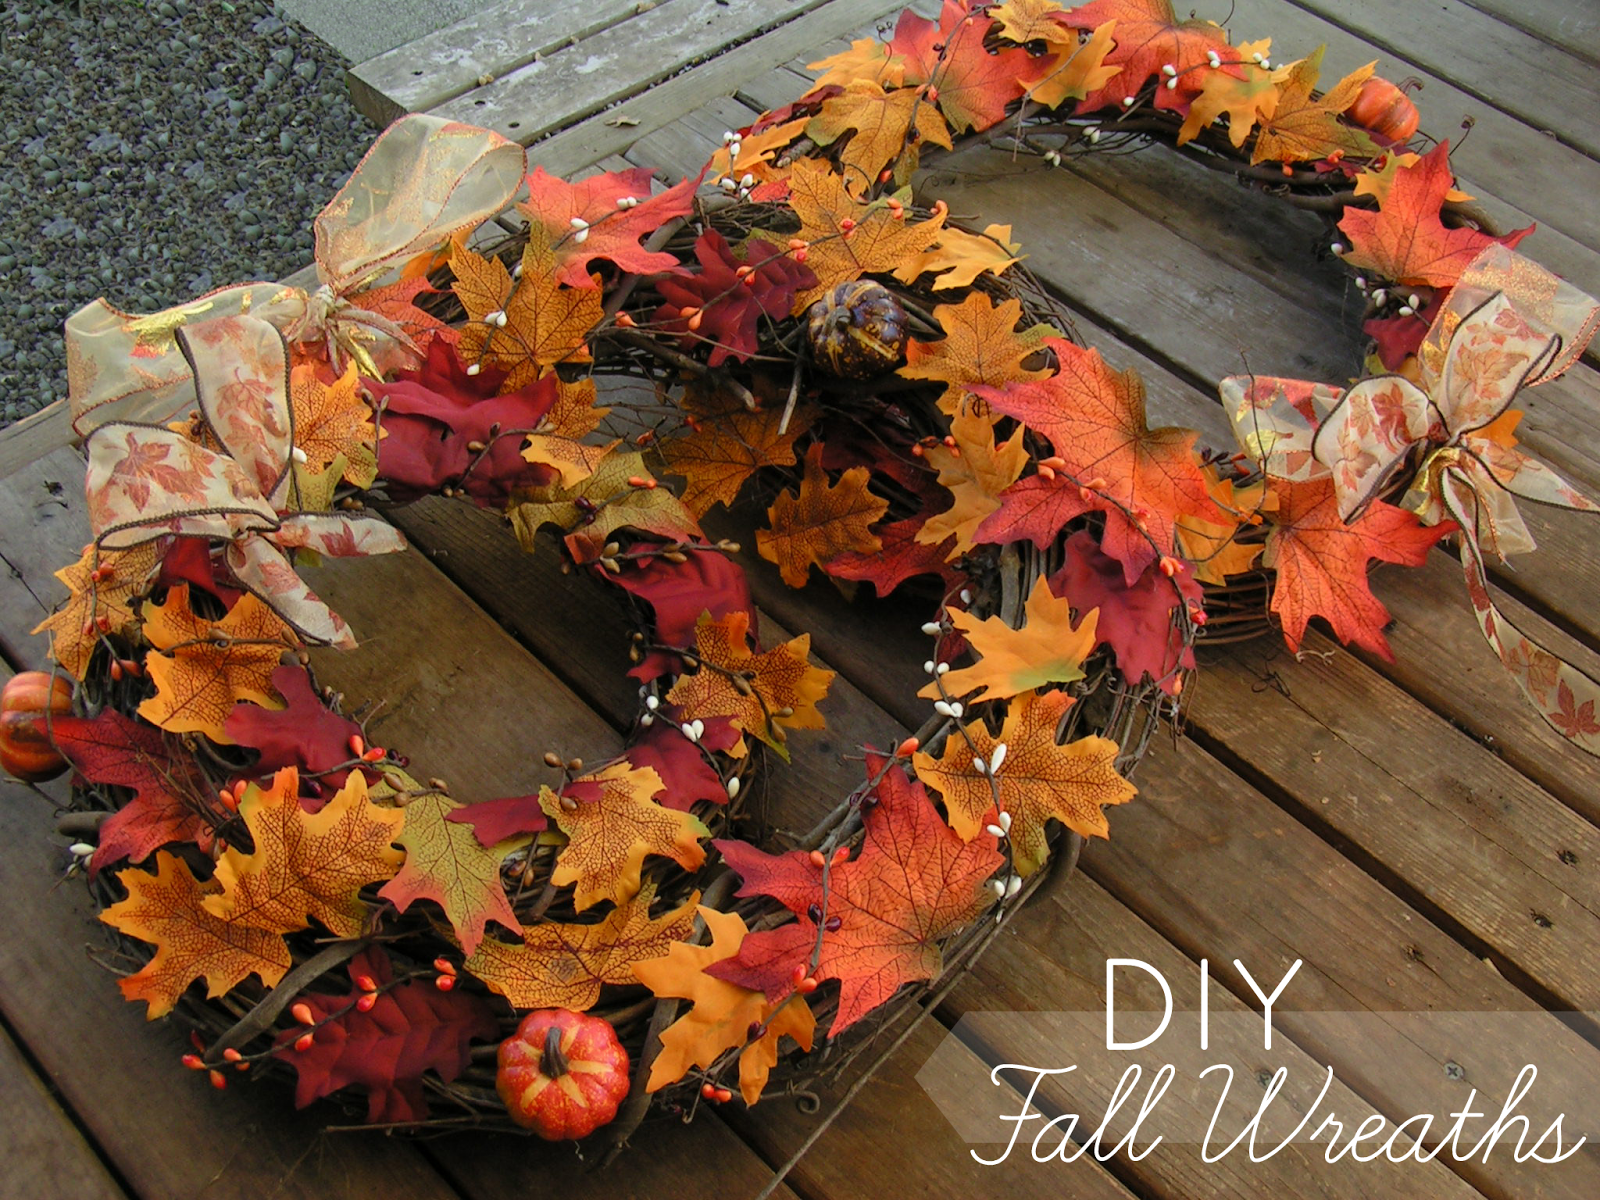
In the first photo, mine the far left with mine from last years in it
and my sister's is the one on the right.
If you make a wreath inspired by this post, you can tweet me or tag me in it on Instagram, @hannahvanhoozle on both!
Thank you for reading!!
xo Hannah


