Showing posts with label Seche Vite. Show all posts

Thursday, November 6

Autumn Pumpkin Nail Tutorial ♡


Although it's now November, there's still almost this whole month of fall/autumn decorations! I love seasonal nails since I love seasons in general so when I recently did a pumpkin accent nail I figured I should make a post about it! If you've been following my blog, I did a Watermelon Nail DIY back in August. Many of you really liked that one as well as my DIY Floral Nails which was actually my first blog post. 
Anyway, I think these would be so cute for Thanksgiving which is approaching fast. Woohoo!
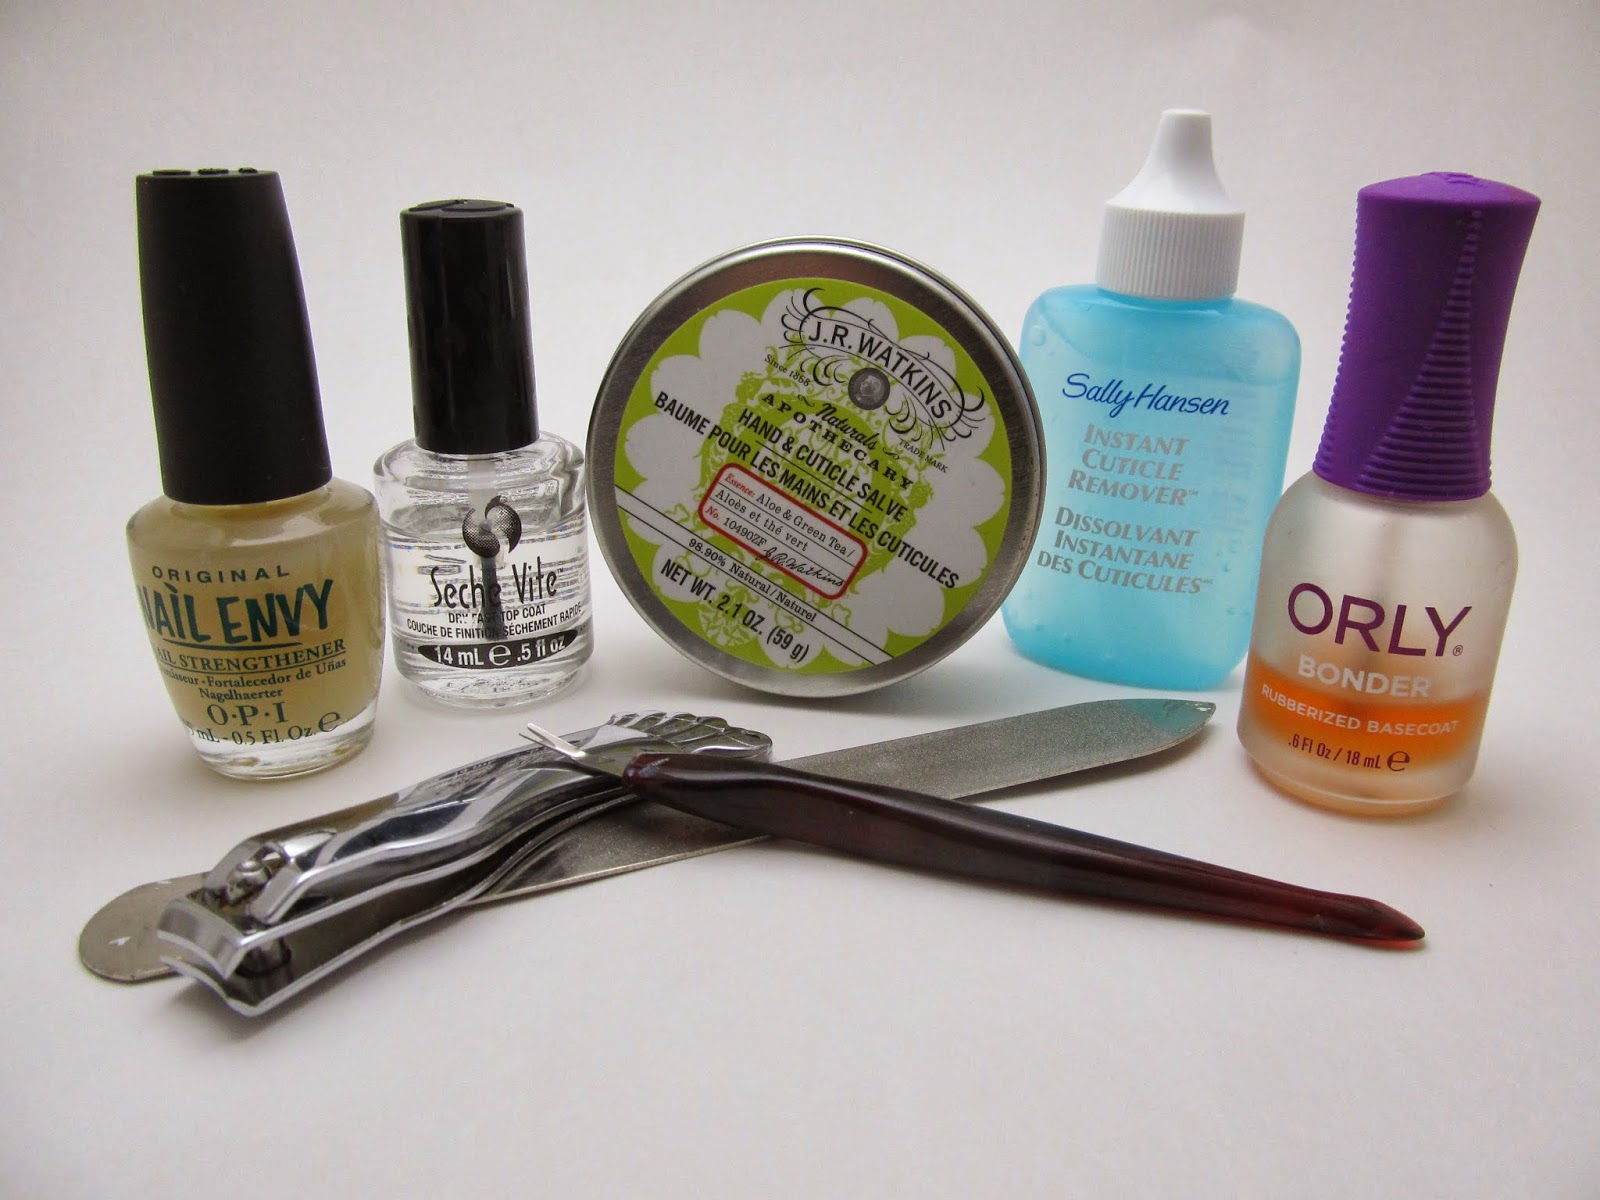
| You Will Need: |
  1. Base coat (Orly Bonder)
  2. Natural wood toothpicks
  3. White polish (Julep Dana)
  4. Orange/coral polish (Essie Tart Deco)
  5. Red/dark orange polish (Essie Meet Me at Sunset)
  6. Green/teal polish (Essie Naughty Nautical)
  7. Top coat (Seche Vite)
| Steps |
  1. Begin by coating your nails with a base coat to encourage lasting nail polish.
  2. Apply two coats of your white nail polish to all but your index finger (or other chosen nail).
  3. Apply two coats to your index finger of your orange/coral. (step 1)
  4. On your accent nail/ring fingers, create a semi-circle on the end of your nails, reaching about 1/3 of the way up your nail. This will be your pumpkin. (step 2)
  5. On a piece of paper or index card put a large drop of red polish. Using a toothpick, thinly outline your pumpkin. Also place a line directly down the center of it, then one curved line on either side of it. So three-dimensional. (step 3)
  6. On the same piece of paper, put a large drop of teal. Using a toothpick again, apply a dot of it on the top center of the pumpkin, allowing the bottom of the dot to slightly go into the pumpkin. Extend this line up and to the left or right to create a loop. Curve the line down to the opposite side and have it jut into the pumpkin again. Where the curve begins to straighten out, attach a line to make a loop and bring it up to nearly the bottom of your nail to complete the adorable vine. (step 4)
  7. Wait for it to dry completely and apply a top coat.

Explaining it sounds more complicated than it is but it will take some practice. Since it's simpler, you could just make the pumpkin stem (actually called a peduncle) short and stubby instead of creating a vine.
If ya'll have any requests for nail tutorials let me know!
Thanks for reading! xo

Monday, August 18

DIY Watermelon Nails


During the summer I love being able to do funky fruit accent nails. Recently I saw a picture on Pinterest of watermelon nails and decided I would give it a go. It's actually pretty easy but I got a lot of compliments on them! I think next I'm doing pineapples.
My apologies for the color difference in the pictures- the one above displays the color most correctly.

| You Will Need |


-Base coat (Orly's Rubberized Bonder)
-Top coat (Seche Vite)
-Pink/coral nail polish (Sally Hansen Coral Reef)
-Green nail polish (Essie First Timer)
-Black nail polish (China Glaze Smoke and Ashes)
-Toothpicks (plain wood, not colored!)
-Nail polish remover

| Steps |

  1. Clean all oil and polish off with some nail polish remover.
  2. Apply a coat of base coat and wait to dry.
  3. Apply two coats of a pinky color to all nails. ("step 1")
  4. Carefully using a green polish, apply a thin strip like a watermelon rind on your choice accent nail. Apply two coats if necessary. ("step 2")
  5. For the watermelon seeds, drop some black polish onto a note card and dip in the toothpick. Apply a dot where you want the bottom of the seed and gently drag upwards to create a rounded, pudgy teardrop. Repeat until you like the pattern. I used five seeds- three on the top and two on the bottom. ("step 3")
  6. Generously top coat, making sure to seal the tips so your watermelons last!


That's all! Easy peasy. Let me know if you try this out! You can tag me on Instagram @hannahvanhoozle. Also, I'm always posting pictures of my nails on Instagram as well!
Thank you for reading! xo

Tuesday, April 1

My Nail Care Routine


I kind of have an obsession with nail polish and doing nails. It started about three years ago, when I bought my first higher-end polish. I think it was OPI's Sweetheart since at the time, JuicyStar07 and AllThatGlitters21 had been raving about it and they were some of my favorite people to watch on YouTube. Now, I own something like 45 nail polishes and I constantly keep my nails painted.
I definitely don't think I've perfected my nail routine yet, but it's better than it used to be. I would say I paint my nails twice a week or so, depending on how long they last before chipping.


| CURRENT PRODUCTS |

  • Non-acetone nail polish remover
  • Sally Hansen Instant Cuticle Remover
  • Cuticle pusher
  • Nail clippers
  • Metal nail file
  • OPI Nail Envy
  • Orly Rubberized Bonder
  • Seche Vite
  • J.R. Watkins Hand & Cuticle Salve 

| ROUTINE |

The first thing I do to prep my nails is remove my old nail polish (relatively obvious, I know). 
Next, I apply my Sally Hansen Instant Cuticle remover to my cuticles all the way around my nails (in a "U" shape). I let that sit for 15 seconds, like it instructs (I'm kind of terrified to leave it on for too long), then I use my cheap cuticle pusher.
I start in the middle of my nail and push up and down all around the U of my nails to make sure that the whole nail is smooth. Afterwards, I quickly wash my hands with soap and water. While I dry them, I use the rag and push back my cuticles again to make sure they're all dry.
After my cuticles are all done, I'll cut my nails in a square shape. Since I have super weak nails, I always file the square edges a little to make them rounder, changing them into more of a "squoval" shape.
Once I'm all done with prepping, I paint a coat of OPI's Nail Envy on all of my nails, keeping a tiny gap from my cuticles.
After that dries, I apply a relatively thin coat of the Orly Rubberized Bonder to my nails and wait for it to dry. It dries pretty quick.
I then paint a coat of my polish of choice, wait for it to dry, and paint a second coat.
Once it's (pretty) dry, I'll do a generous coat of Seche Vite and apply my J.R. Watkins Hand & Cuticle Salve on my cuticles and all over my hands to restore their lost moisture.
And that's all I do! They usually last for 4-5 days, depending on my activity. I'm
almost out of my Orly bonder, so I may be purchasing a new base coat pretty quick. I'm not sure which one I'm going to buy next. Hopefully a trip to Sally's Beauty Supply will be in order pretty soon! :D The picture of my nails (actually from my Instagram) is attempting to show the shape and also how perfect and beautiful Essie's On a Silver Platter is. The glitter is basically holographic- it reflects freakin' rainbow! My non-accent nails are also an Essie nail polish, Boxer Shorts.
Anyways, thanks for reading! xo